

How:
I'll separate the instructions into 3 sections, to allow for some design freedom.
A basic platform, upgrades (wheels and trim), and flooring.
The Basic Platform (<$100)
Materials:
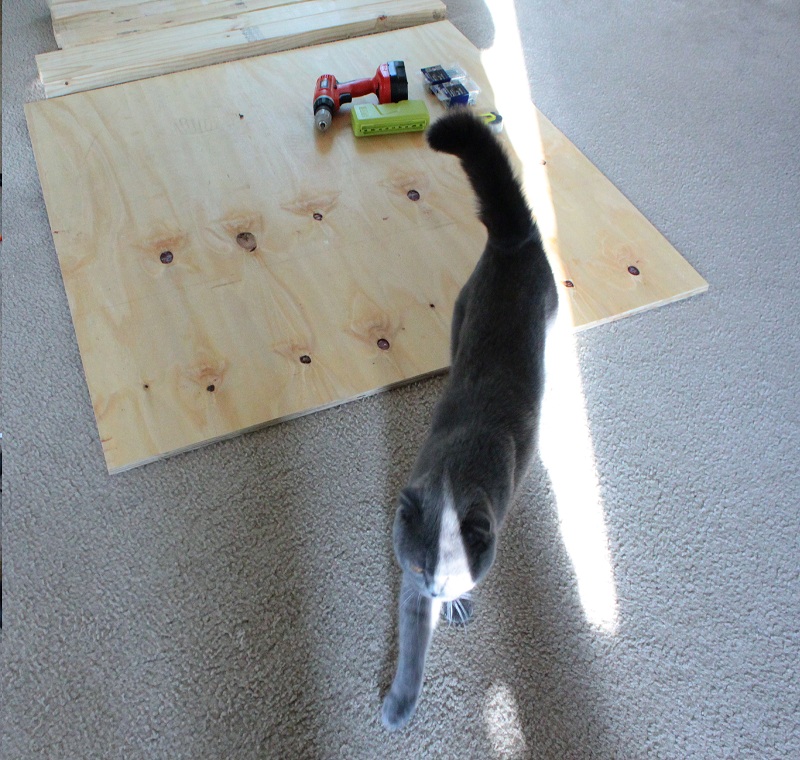
(1) 48'' x 48'' plywood. Make sure it is exact 48''x48'' or the following will not work.
For a cello stand, I think you'd be better off with 3'x5' proportions, but you'll have to figure out the other measurements.
Consider heavy 3/4in with a finished surface if you don't want to add hardwood flooring on top.
I could not fit this plywood into my Celica, so I had to have it cut in half.
Several high quality 2x4s (they actually measure 1.5x3.5''). Make sure they are not warped. The cheaper ones seem to be more imperfect. Have them cut (much cleaner cuts if Home Depot does it) so that you end
up with (2) 46in lengths and (5) 43in lengths.
You will need at least (16) phillips head, multipurpose, 2.5 or 3in wood screws (or 16 3in common nails)
An electric drill would make life easier to predrill 2 holes where each of your boards will attach (16 total).
I used this drill, which was great when fully charged.
A phillips head bit is handy for driving in those screws (unless you decide on nails).
Instructions:
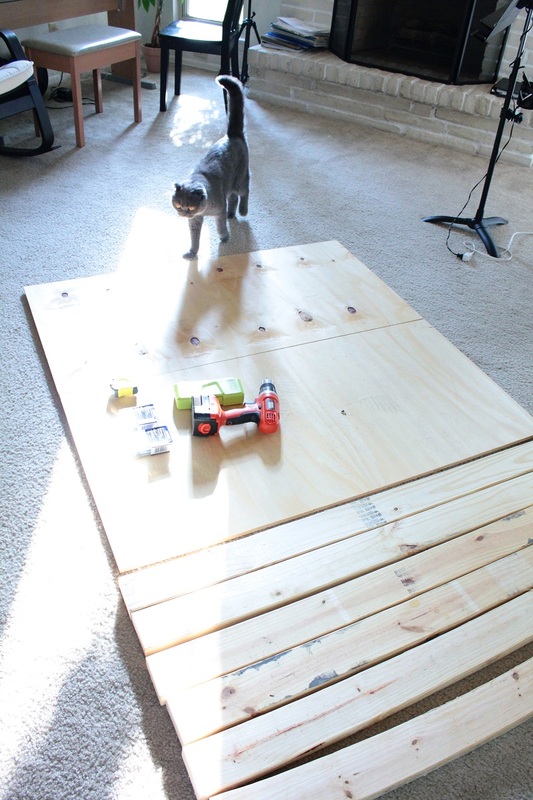
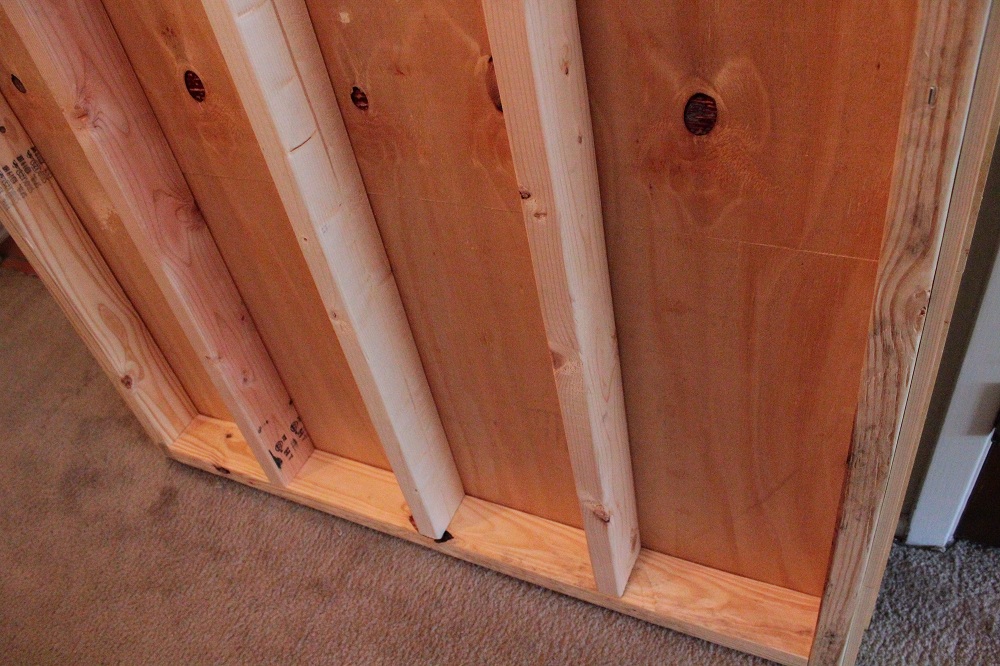
On your plywood lay out the two 46'' lengths narrow side down on upper and lower edges of plywood.
Space the 2 43'' lengths horizontally between them.
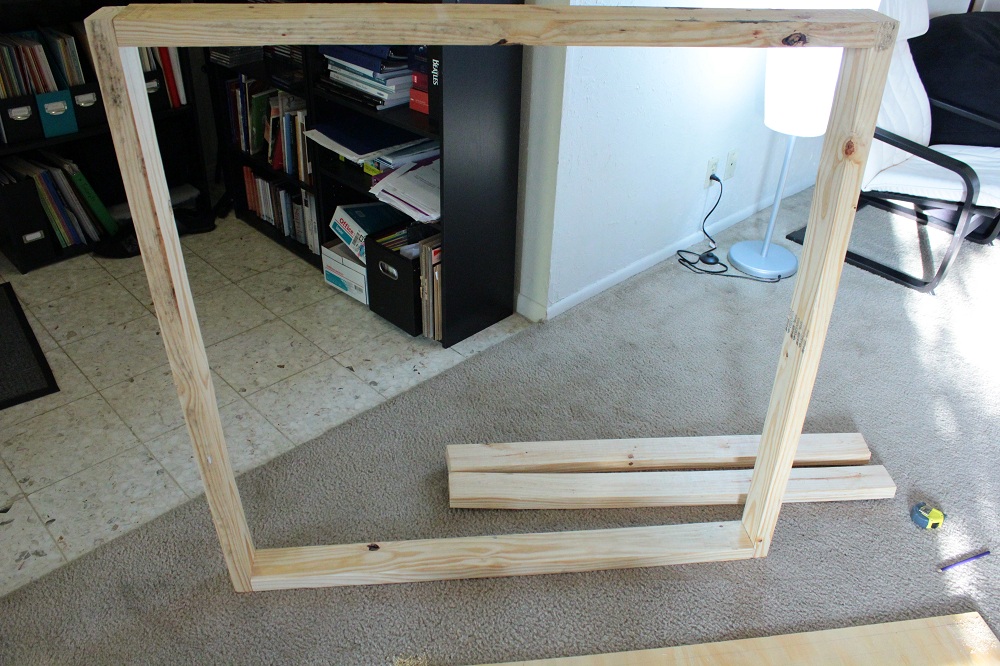
Fit the other 43'' lengths vertically between the 48in top and bottom.
Everything should meet giving you a about a 47x47'' frame. There's a 1 inch over hang on all sides.
Secure plywood to frame with 1.5 or 2 in screws. If you screw into the horizontal cross lengths it will be really firm.
I'll separate the instructions into 3 sections, to allow for some design freedom.
A basic platform, upgrades (wheels and trim), and flooring.
The Basic Platform (<$100)
Materials:
(1) 48'' x 48'' plywood. Make sure it is exact 48''x48'' or the following will not work.
For a cello stand, I think you'd be better off with 3'x5' proportions, but you'll have to figure out the other measurements.
Consider heavy 3/4in with a finished surface if you don't want to add hardwood flooring on top.
I could not fit this plywood into my Celica, so I had to have it cut in half.
Several high quality 2x4s (they actually measure 1.5x3.5''). Make sure they are not warped. The cheaper ones seem to be more imperfect. Have them cut (much cleaner cuts if Home Depot does it) so that you end
up with (2) 46in lengths and (5) 43in lengths.
You will need at least (16) phillips head, multipurpose, 2.5 or 3in wood screws (or 16 3in common nails)
An electric drill would make life easier to predrill 2 holes where each of your boards will attach (16 total).
I used this drill, which was great when fully charged.
A phillips head bit is handy for driving in those screws (unless you decide on nails).
Instructions:
On your plywood lay out the two 46'' lengths narrow side down on upper and lower edges of plywood.
Space the 2 43'' lengths horizontally between them.
Fit the other 43'' lengths vertically between the 48in top and bottom.
Everything should meet giving you a about a 47x47'' frame. There's a 1 inch over hang on all sides.
Secure plywood to frame with 1.5 or 2 in screws. If you screw into the horizontal cross lengths it will be really firm.
 |  |
Upgrades: Trim and paint (<$30), Wheels (<$30)
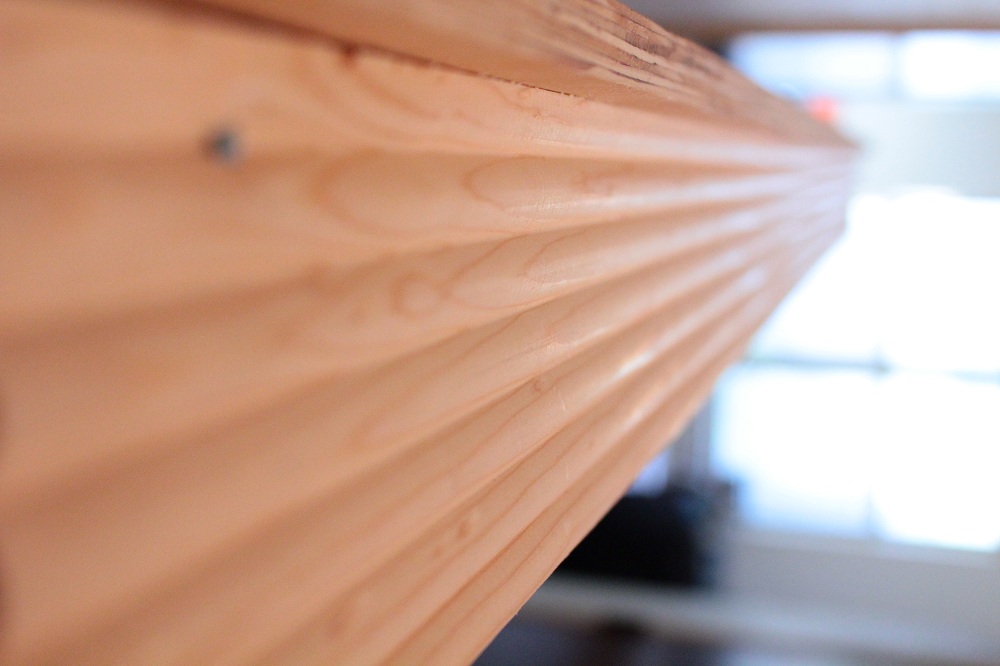
I wanted the sides to look nice, so I bought two long lengths of fluted casing from home depot, cut them down, and nailed them with finishing nails to only 3 sides, leaving the back plain. I painted it with a 1/2 pint of flat white latex paint. The fluting is just over 3''. I didn't want a 4'' fluting to snag the carpet.
Already, without the flooring, this stage weighs a good 50-70 lbs. The flooring weighs another 50lbs.
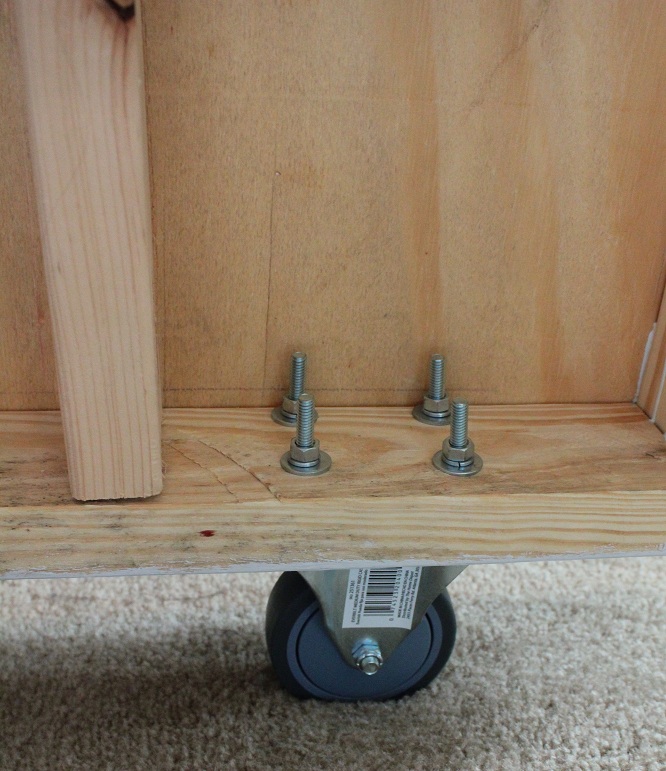
So, it needs wheels to be transportable. You want rigid, not caster wheel, about 3-5 inches. Something like this. I secured the wheel with 5/16" nuts and bolts, but it depends on your wheel size.
I wanted the sides to look nice, so I bought two long lengths of fluted casing from home depot, cut them down, and nailed them with finishing nails to only 3 sides, leaving the back plain. I painted it with a 1/2 pint of flat white latex paint. The fluting is just over 3''. I didn't want a 4'' fluting to snag the carpet.
Already, without the flooring, this stage weighs a good 50-70 lbs. The flooring weighs another 50lbs.
So, it needs wheels to be transportable. You want rigid, not caster wheel, about 3-5 inches. Something like this. I secured the wheel with 5/16" nuts and bolts, but it depends on your wheel size.
 |  |
Hardwood flooring (about $85)
Good luck standing around at Home Depot trying to get someone to order hardwood flooring for you. The easier solution was ordering online. Surprisingly, the shipping, UPS, was only $3 for the 54lb. package.
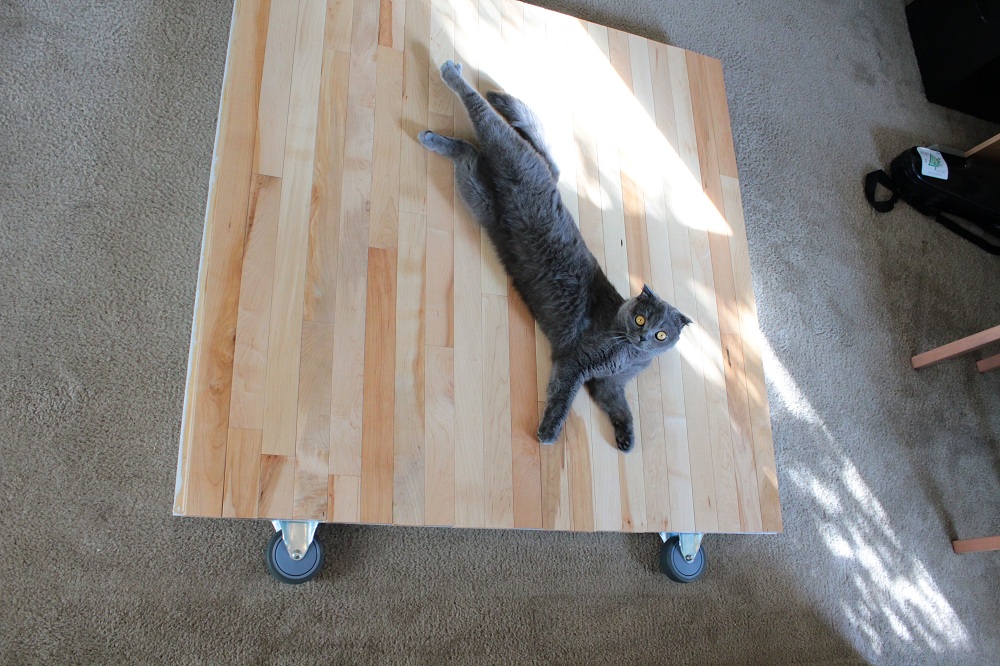
I ordered a 20 square foot package and had just enough to carefully cover my 16 square foot surface. One piece was really ugly, and another, too warped to use. I cut everything down to size with a hand saw and miter box. It would have been easier with an electric circular saw, but I would rather not lose any fingers using electric power tools.
Nailing by hand would have been a pain, so I glued everything with two bottles of liquid nails, making sure the first boards were held in place with clamps. I glued one piece at a time, zig-zagging a fat line of glue. I waited a day for it to dry. You'll also need a 10 oz. matching caulk gun for those glue canisters.
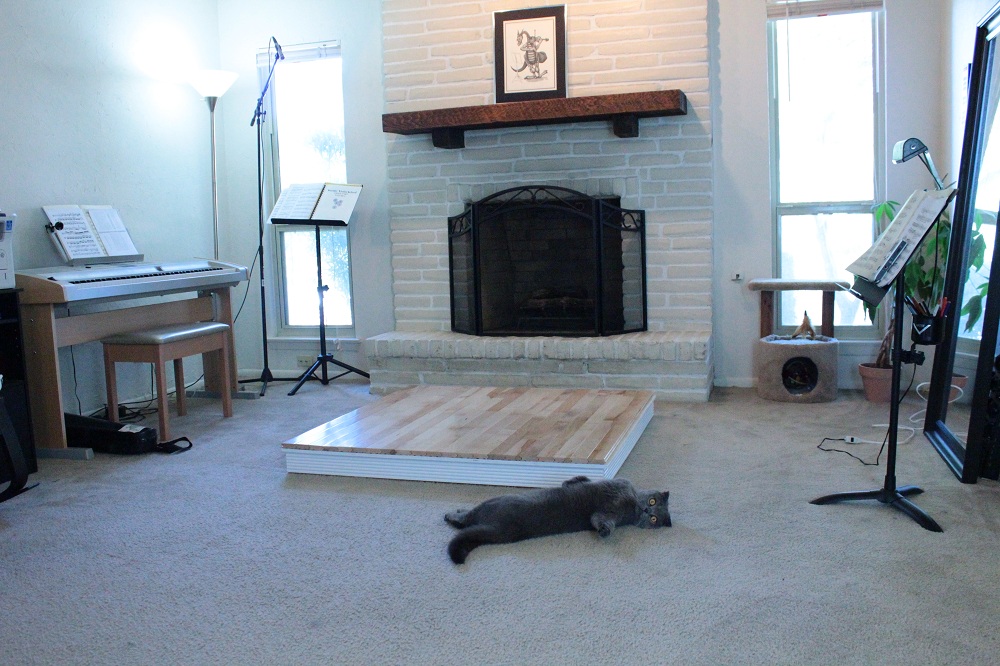
The flooring was a real pain to cut and fasten together, but looks great on the finished project.
I could have added some small trim to cover the flooring edges, but for now, I'm leaving it as-is.
Google some ready made stages and you find that even unattractive stages are extremely pricey, sometimes upwards of $750 for a base and platform.
For instance:
http://www.thestagedepot.com/product_p/isp4x4cd.htm
So for just under <$300, including materials and probably some tool purchases, we've got a high quality stage that transforms the studio space.
Good luck standing around at Home Depot trying to get someone to order hardwood flooring for you. The easier solution was ordering online. Surprisingly, the shipping, UPS, was only $3 for the 54lb. package.
I ordered a 20 square foot package and had just enough to carefully cover my 16 square foot surface. One piece was really ugly, and another, too warped to use. I cut everything down to size with a hand saw and miter box. It would have been easier with an electric circular saw, but I would rather not lose any fingers using electric power tools.
Nailing by hand would have been a pain, so I glued everything with two bottles of liquid nails, making sure the first boards were held in place with clamps. I glued one piece at a time, zig-zagging a fat line of glue. I waited a day for it to dry. You'll also need a 10 oz. matching caulk gun for those glue canisters.
The flooring was a real pain to cut and fasten together, but looks great on the finished project.
I could have added some small trim to cover the flooring edges, but for now, I'm leaving it as-is.
Google some ready made stages and you find that even unattractive stages are extremely pricey, sometimes upwards of $750 for a base and platform.
For instance:
http://www.thestagedepot.com/product_p/isp4x4cd.htm
So for just under <$300, including materials and probably some tool purchases, we've got a high quality stage that transforms the studio space.

Why a stage?
I spent one summer at the ENCORE School for Strings in high school. Primarily, I studied with Linda Cerone there, who was fantastic at organizing practice schedules and motivating me to approach practicing in an organized way. I had one lesson with David Cerone, a formidable teacher at the Cleveland Institute of Music. It was simply understood that at a lesson with Mr. Cerone, boys were required to wear nice shoes, slacks, and a button-down shirt. Girls were supposed to wear dresses or equivalent. Mr. Cerone also placed his LED clock behind his students, so that he could see the time (to plan a 5-minute smoke break). This way, his students would not be tempted to check the time.
As a student, I was really impressed that someone had put that much thought into the environment of a lesson scenario. The clock placement was clever and the dress code made the lesson seem more like a performance. In college, my teacher, Charles Castleman, had his own signature touch: a rocking chair.
Maybe it was just for the sake of comfort. It was extremely comfortable (one of perks of obtaining the studio key!). However, playing a lesson for a teacher in a rocking chair actually chills out the entire tone of the lesson. There's much less perceived pressure.
I've always thought it would be a fun project to build a stage. There are also some subtle changes that occur when teaching a student on a stage:
1) The stage is a performance space. But no one needs to go to the trouble of dressing up.
I used to feel awkward attempting to play my heart out in the casual space of a teacher's apartment.
2) The stage raises students about 6 inches. Without a doubt, they are the center of attention.
3) The stage shows that you're trying to do something special as a teacher. It's a little weird, a little playful. It sets apart the lesson space from all other spaces.
4) The actual sound is slightly improved, as compared to the carpet.
5) It's easier to pretend that you are on a real stage, in front of people. Helps confidence.
In addition to the stage, I've tried to improve on David Cerone's clock. It's a binary clock from thinkgeek (count the number of lights in each group). So, not only is it behind the student, but they will have trouble deciphering it anyway.
Happy Building!

7:52

 RSS Feed